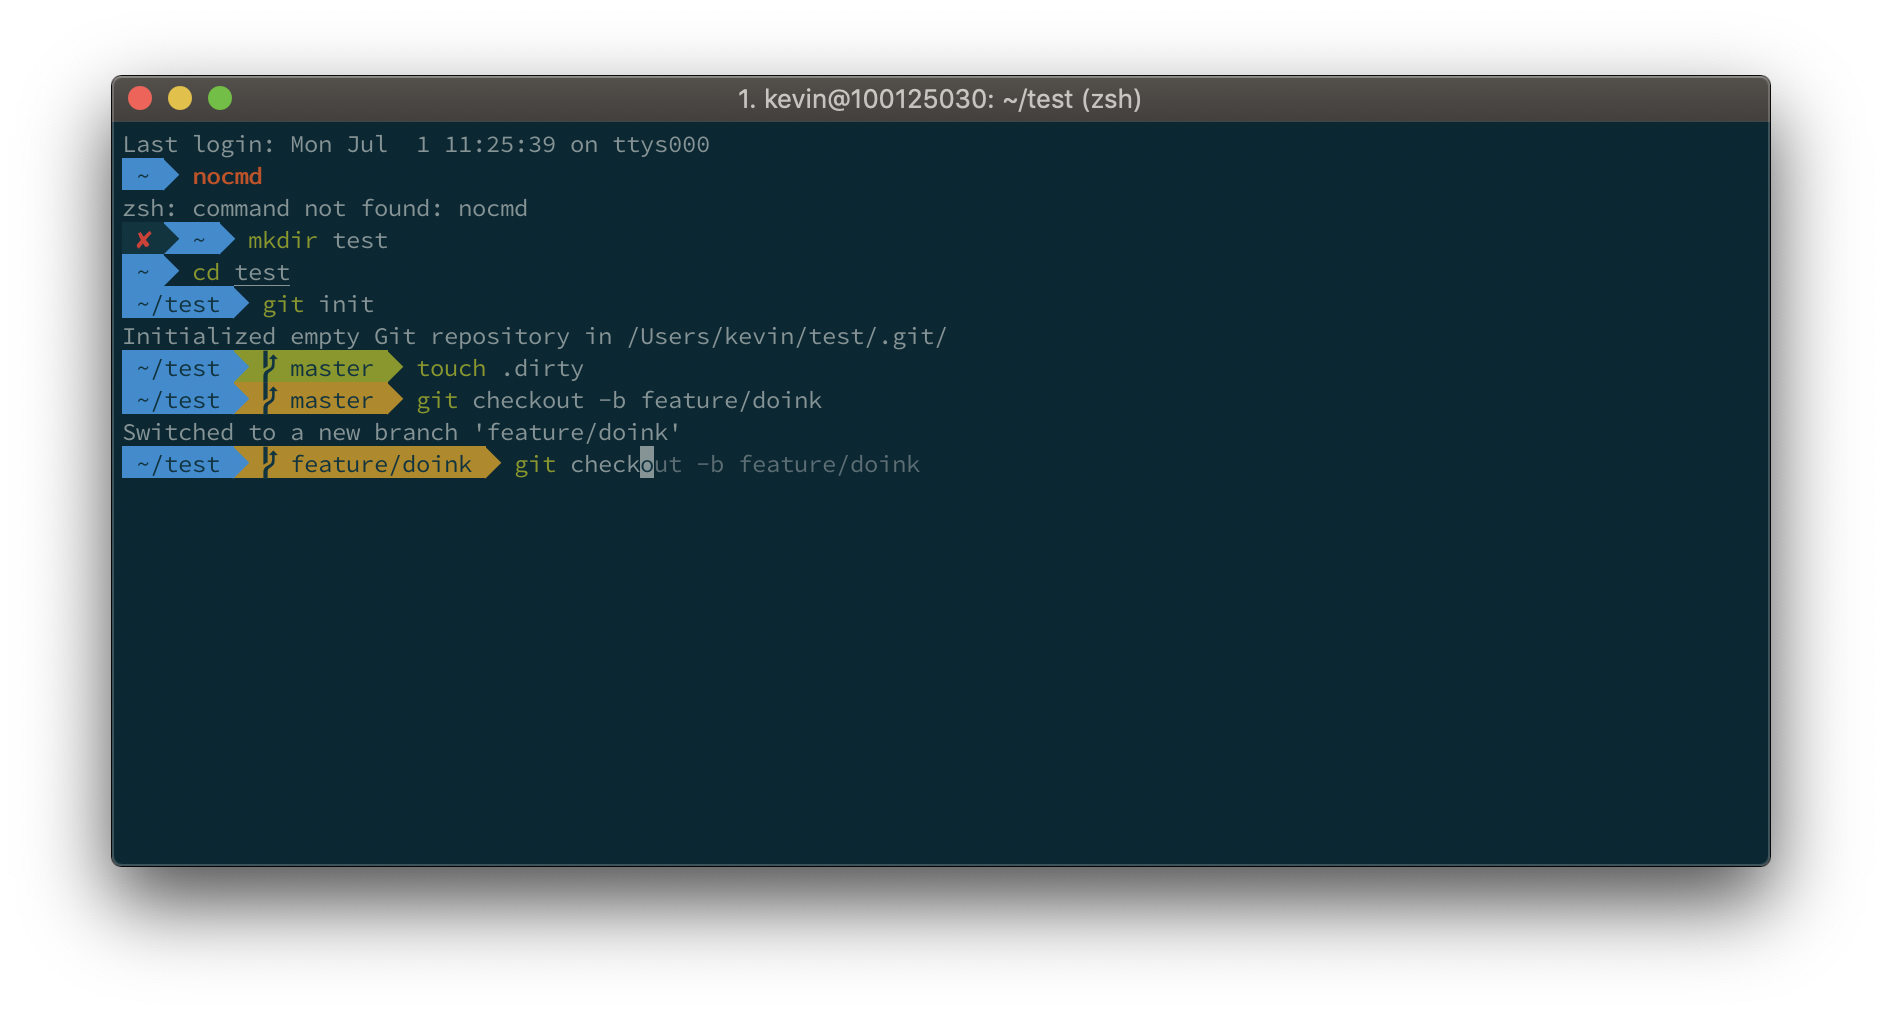
Z31o_0
7/9/2019 - 3:16 AM
Install new theme for Iterm2
iTerm2 + Oh My Zsh + Solarized color scheme + Source Code Pro Powerline + Font Awesome + [Powerlevel10k] - (macOS)
Demo
- Defautl:

- Powerlevel10k

How to install
iTerm2
brew cask install iterm2
Or, if you do not have homebrew (you should): Download and install iTerm2
iTerm2 has better color fidelity than the built in Terminal, so your themes will look better.
Get the iTerm color settings
- Solarized Dark theme (patched version to fix the bright black value)
- Solarized Light theme
- More themes @ iterm2colorschemes
Just save it somewhere and open the file(s). The color settings will be imported into iTerm2. Apply them in iTerm through iTerm → preferences → profiles → colors → load presets. You can create a different profile other than Default if you wish to do so.
Oh My Zsh
More info here: https://github.com/robbyrussell/oh-my-zsh
Install with curl
sh -c "$(curl -fsSL https://raw.githubusercontent.com/robbyrussell/oh-my-zsh/master/tools/install.sh)"
When the installation is done, edit ~/.zshrc and set ZSH_THEME="agnoster"
Powerlevel9k / Powerlevel10k
Why Powerlevel10k? Well, because it's a drop-in replacement for Powerlevel9k, just a lot faster to render your prompt. ls feels fast again!
So if you prefer the Powerlevel10k look with added info such as exit codes and timestamps on the right, run:
git clone https://github.com/romkatv/powerlevel10k.git $ZSH_CUSTOM/themes/powerlevel10k
Then edit your ~/.zshrc and set ZSH_THEME="powerlevel10k/powerlevel10k".
Also add the following: POWERLEVEL9K_MODE="awesome-patched"
Powerlevel10k offers a whole lot more, best is to check out these user made configs yourself.
Install a patched font
- Source Code Pro
- Source Code Pro + Font Awesome, this one is needed if you want the icons from Font Awesome as shown in the screenshot for Powerlevel10k.
- Others @ powerline fonts
Open the downloaded font and press "Install Font".
Set this font in iTerm2 (iTerm → Preferences → Profiles → Text → Change Font), best to do this for "Font" and for "Non-ASCII Font".
Restart iTerm2 for all changes to take effect.